Bilingual StaffHours & Directions
We know visiting a specialist can feel overwhelming
From what to expect on your first visit to payment options and patient forms.
From your first check-in to your aftercare instructions, here’s a step-by-step look at how we make your visit comfortable, clear, and stress-free
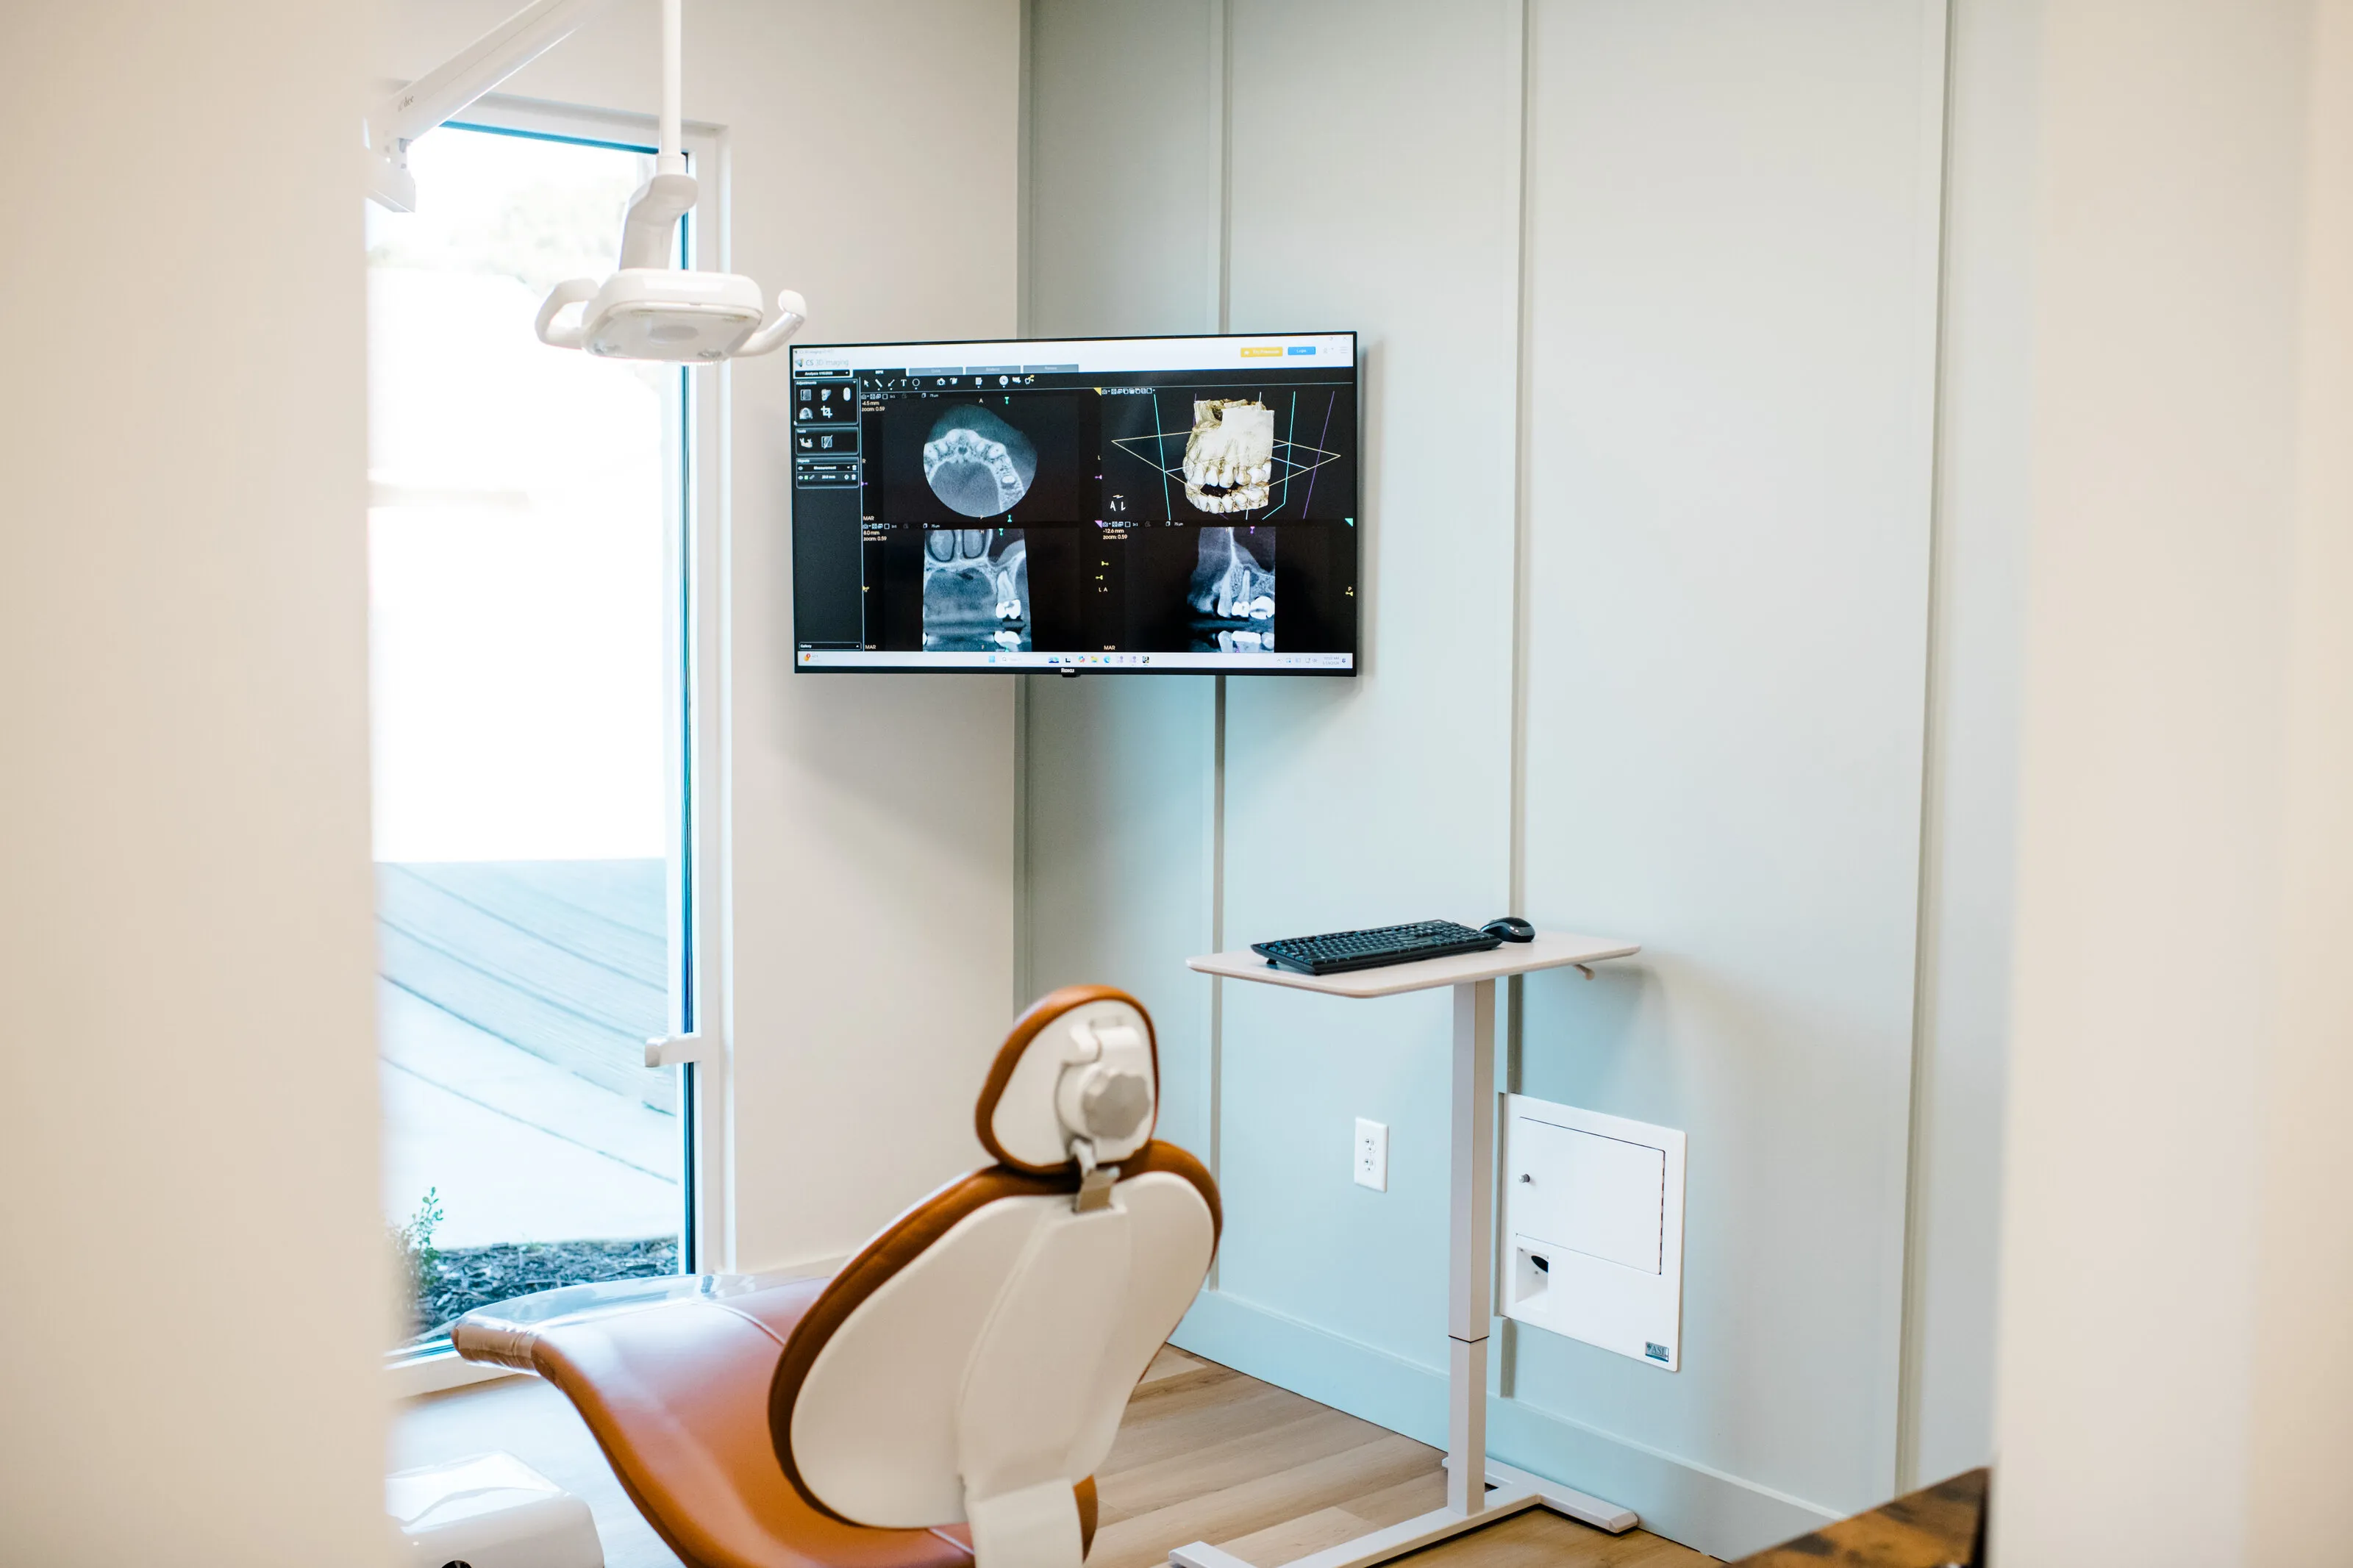
Once you've checked in, one of our assistants will bring you back to the treatment room. We’ll take any necessary digital images, such as X-rays or a 3D cone beam CT scan, to get a clear view of your tooth and surrounding structures. These images help your endodontist make the most accurate diagnosis possible.
Your endodontist will then sit with you to review your medical and dental history, go over the images, and explain exactly what’s happening inside your tooth. This is your chance to ask questions — we want you to feel fully informed before any treatment begins.
If treatment is recommended and you’re ready to proceed, we can often perform it the same day. We’ll numb the area thoroughly so you’re comfortable throughout the procedure, and we’ll check in with you often to make sure you’re at ease.
Depending on your situation, treatment may involve root canal therapy, retreatment, or another specialized procedure.
Once your procedure is complete, we’ll go over aftercare instructions with you and let you know what to expect in terms of healing. Before you leave, we’ll answer any final questions, schedule any follow-up visits if needed, and send a full report to your general dentist so your care is coordinated.





Please follow these guidelines after your treatment, and don’t hesitate to contact us with any questions.
Do not eat or drink for the first 30 minutes, and avoid touching the treated tooth with your tongue.
(This allows your temporary filling to harden properly.)
If you were prescribed medication, fill it promptly and take it as directed.
If you weren’t prescribed medication, you may take ibuprofen (Motrin, Advil) or Tylenol — as long as you’re not allergic.
Always follow the dosage instructions on the label.
If pain isn’t controlled, call our office.
Keep the area clean with gentle brushing and flossing.
If the temporary filling falls out, contact your dentist.
If it happens after hours, you can purchase temporary filling material at a pharmacy to protect the tooth until you can be seen.
Mild discomfort for 2–4 days is common.
Some soreness may last a few weeks.
Brush and floss as usual unless instructed otherwise.
Use a cold compress on your face near the treatment area.
Always place a cloth between the ice and your skin.
Apply for 20 minutes on, 20 minutes off, for the next 6–8 hours.
Once you resume eating, avoid chewing on the treated tooth until your permanent restoration is placed.
The temporary filling/crown is softer and may crack.
Avoid hard foods like nuts, pretzels, hard candy, and ice.
Increased sensitivity is normal until the final crown or filling is placed.
You must see your restorative dentist within one month to complete the permanent restoration. Waiting longer increases the chance of fracture or decay.
Rarely, about 5% of cases may develop a flare-up.
Symptoms include severe pain, swelling, throbbing, or significant discomfort.
If this happens, call our office right away. You may need additional medication (like antibiotics) or further treatment.
Dental insurance works differently than medical insurance, so it’s important to review your benefit booklet from your provider to understand exactly what is covered. Your portion of payment will depend on the details of your individual plan.
At the time of treatment, we’ll provide you with an estimate of what your insurance is likely to cover based on the information we receive from your provider. Please note this is only an estimate — it is not a guarantee of benefits or payment. As a courtesy, our office will file all insurance claims for you. However, the final responsibility for payment rests with you. If your insurance pays less than expected, you’ll be billed for the difference; if they pay more, we’ll issue a credit to your account.
If you have questions about your specific coverage, our team will be happy to help explain your options before treatment.
For your convenience, we accept cash, debit cards, Visa, MasterCard, Discover, American Express.
Financing options are also available through Cherry.